COTTON KNITTING SWEATER PATTERN

Cotton knitting sweater pattern – How to knit a trendy recycled cotton sweater
Discover our easy-to-follow cotton knitting sweater pattern! Learn step-by-step how to make a stylish, eco-friendly openwork sweater with recycled cotton yarn – a must-have handmade piece for your spring and summer wardrobe
This DIY project will give you a lightweight, eco-friendly piece – a must-have for your spring and summer wardrobe.
So, if you too love handmade sweaters, both in wool and cotton, and want to add a sustainable garment to your collection, this is the post for you!
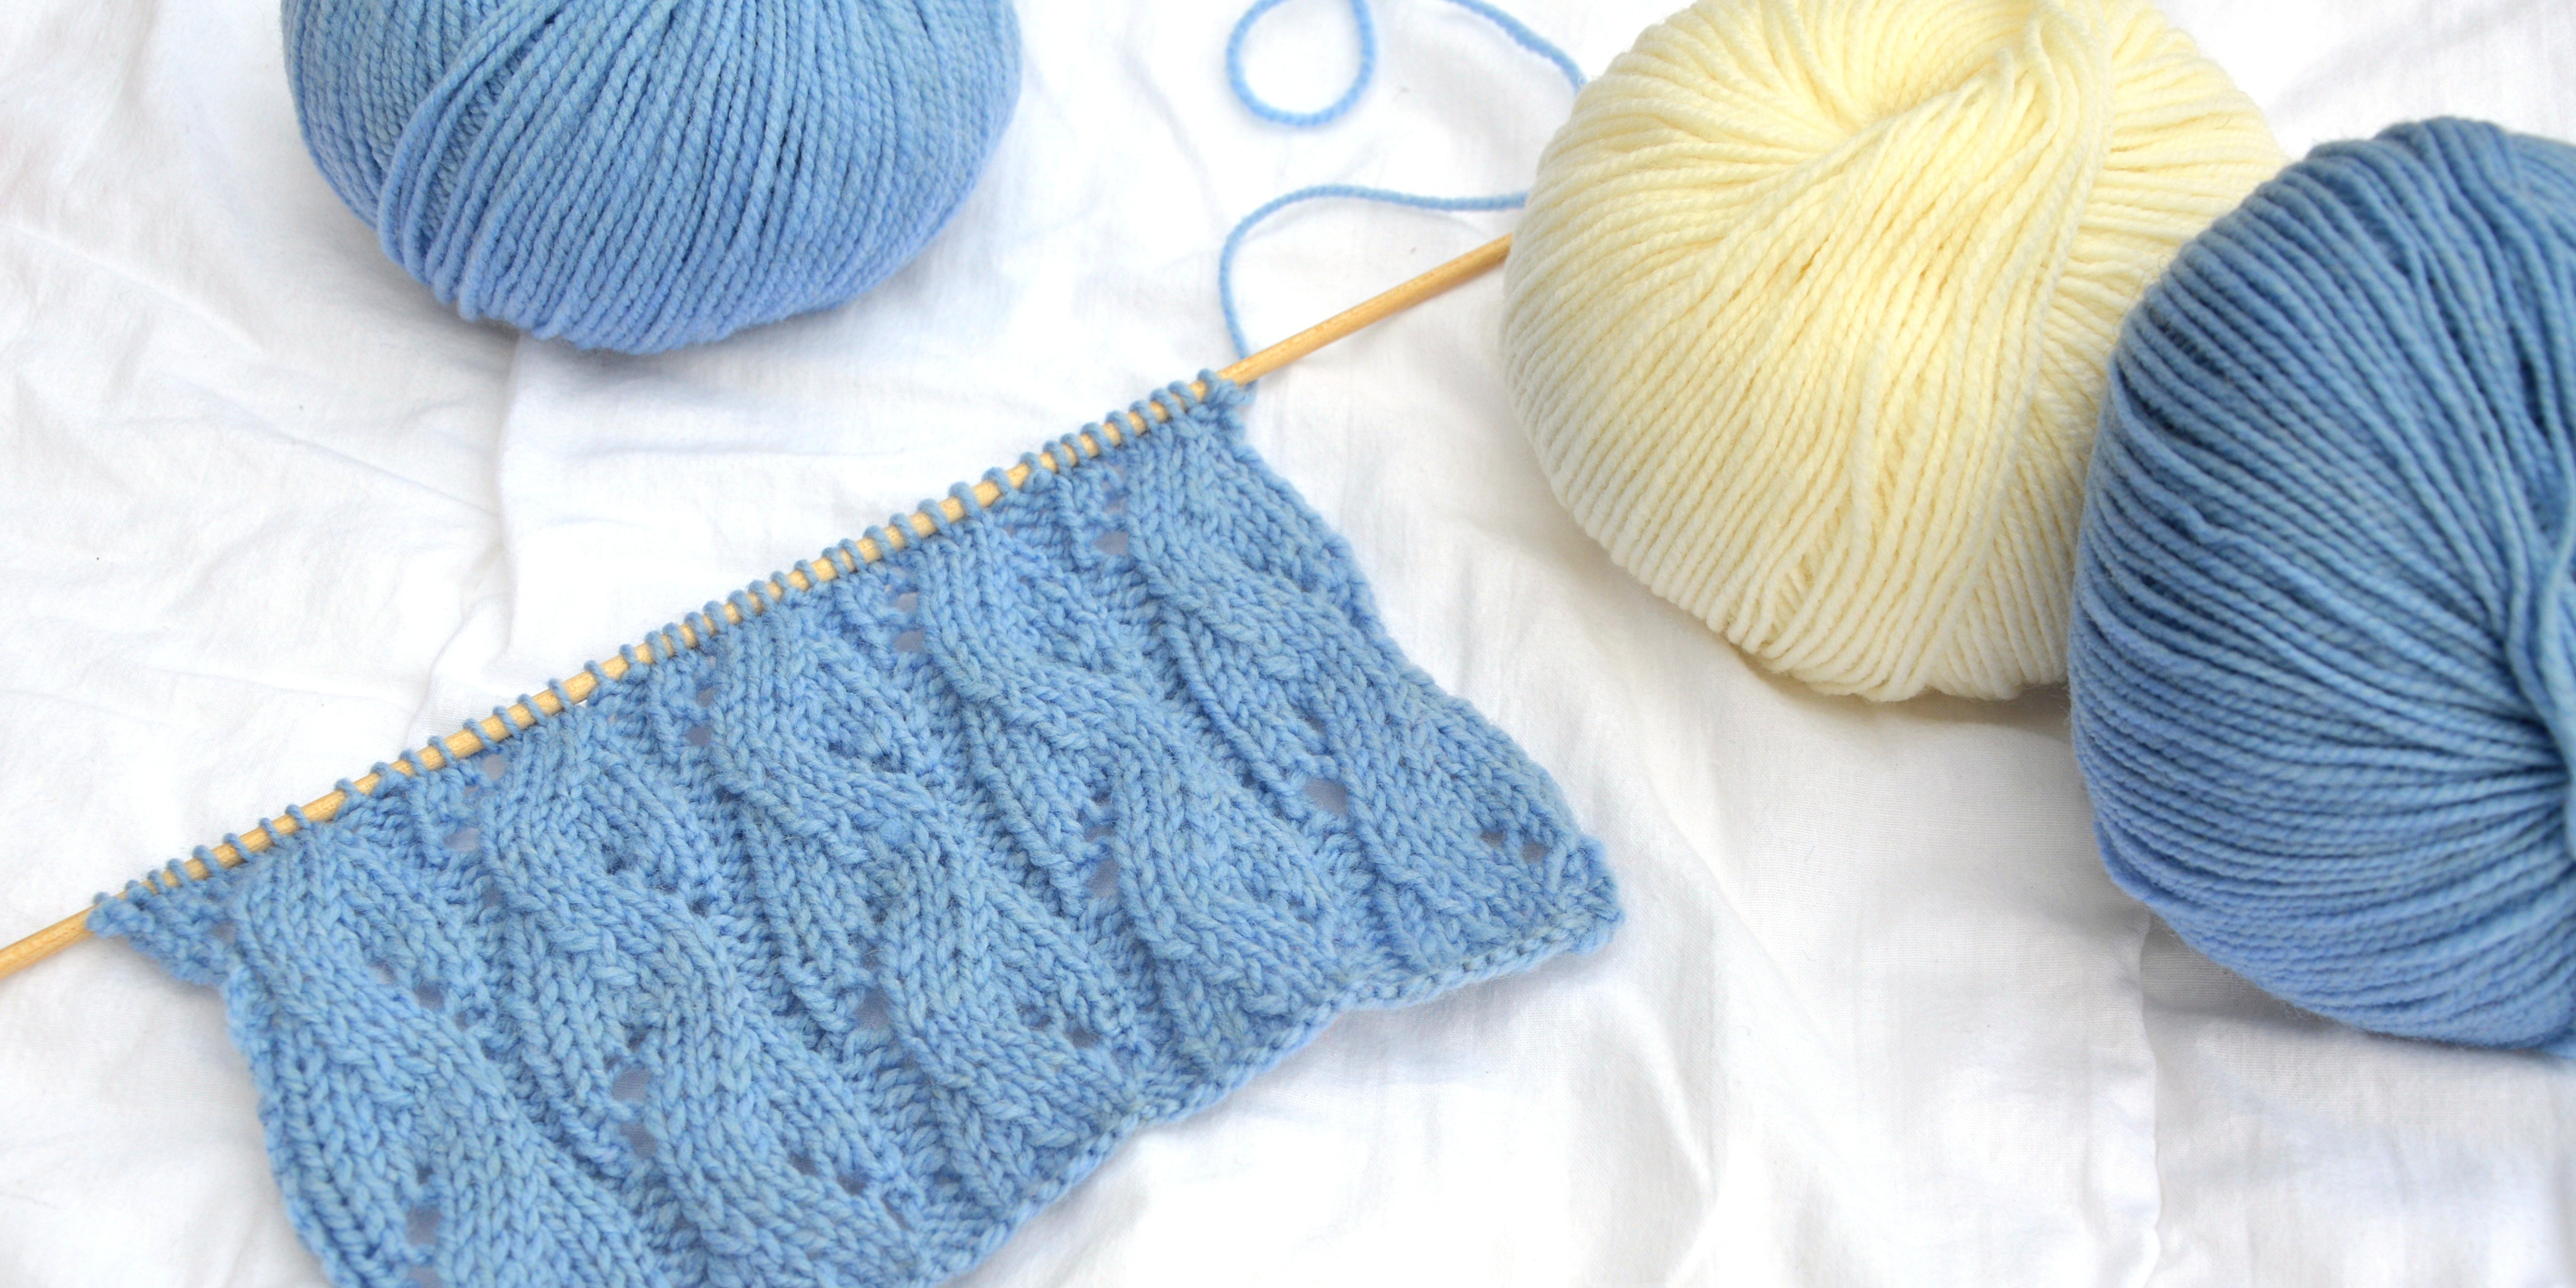
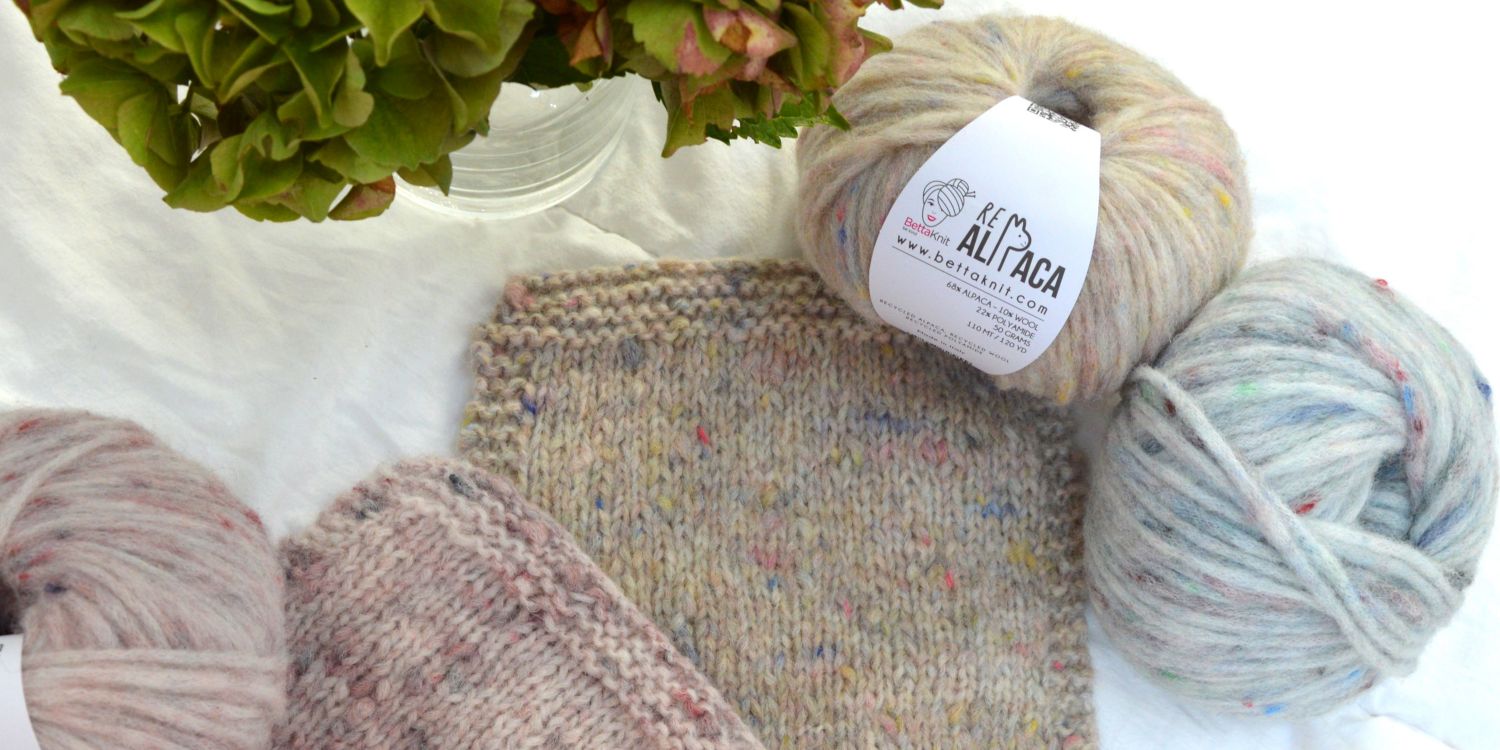
It is a women's openwork cotton knitting sweater, made with our Prato Cotton yarn – a 100% recycled cotton yarn, perfect for breathable and eco-friendly knits. You can wear it with jeans and sneakers for a casual look or layer it over a dress for a chic style.
The delicate yellow shade chosen for this project enhances its spring vibe, but you can explore our shop for many other colors to customize your own version.

First steps to knit a cotton sweater
If you know the basics of knitting, making your own cotton jumper will be easier than you imagine.
Materials you need:
-
Prato Cotton yarn, col. Yellow, 8 balls of 100 gr
-
Beech wood knitting needles, 6 mm
-
Sewing needle
(Optional: stitch markers, measuring tape, and blocking tools for a perfect finish.)
Stitches and Techniques used
-
Casting on: Long Tail method (or any you prefer).
-
1/1 Rib Stitch: Knit 1, purl 1.
-
Stocking Stitch: Knit 1 row, purl 1 row.
-
Zig Zag Eyelet Column Stitch:
-
Row #1: Knit 4, yarn over, 1 skpo.
-
Rows #2 and #4: Purl.
-
Row #3: Knit 4, k2tog, yarn over.
-
-
Decreasing: Right- and left-leaning decreases.
-
Increasing: Invisible increase (Make One).
-
Casting off.
-
Picking Up Stitches.
-
Vertical and Horizontal invisible Seaming.
Need help? Explore our video tutorials for all these techniques – perfect if you’re a visual learner.
Size and gauge
-
Size: Small (40/42 IT – 36/38 EU)
-
Finished measurements: Width: 49 cm / 19.3” – Length: 52 cm / 20.5”
-
Gauge: 10x10 cm = 13 sts x 16 rows in Stocking Stitch with 6 mm needles
Tip: Don’t skip the tension swatch! It ensures your sweater fits perfectly. If your gauge differs, adjust needle size.**
Skill level
Intermediate.
If this is your first sweater, don’t worry: the step-by-step instructions make it accessible even for advanced beginners ready to level up.
How to knit this women’s cotton sweater
This sweater is worked in separate parts, which are then sewn together:
-
Back
-
Front
-
Sleeves
How to knit the back
Start with a ribbed edge for elasticity, then switch to the openwork pattern for a lightweight and breathable texture.
Cast on 66 stitches and work 10 rows in 1/1 Rib Stitch.
We will now set up the pattern of the Zig Zag Eyelet Column Stitch, knitting the first and last stitch as selvedge. it will be helpful to get a more uniform seam.
- Row #11: knit 1 selvedge stitch, *knit 4 stitches, yarn over (move the thread towards yourself, between two knitting needles, pass it over the right knitting needle and then move it again in right position for knitting next stitch), 1 skpo (ie. slip one stitch knit-wise, knit next stitch, pass slipped stitch over)*. Repeat from * to * 10 times, knit 4 stitches, knit 1 selvedge stitch.
- Row #12 and following even rows: purl rows.
- Row #13: knit 1 selvedge stitch, *knit 4 stitches, knit 2 stitches together, yarn over*. Repeat from * to * 10 times, knit 4 stitches, knit 1 selvedge stitch.
Repeat these steps (from Row #11 up to Row #14) a further 10 times, until you reach Row #54, (counting from casting on).
Now we work the decreases for sleeves armhole shaping. The decreases will be made on right side of work, on both sides, within 2 stitches, every 2 rows (that means at all knit-wise rows), keeping pattern on the central stitches.
- Row #55: cast off the first 4 stitches, then continue according to the Zig Zag Eyelet Column Stitch until the end of row. 62 stitches are left.
- Row #56: cast off the first 4 stitches, then continue purling until the end of row. 58 stitches are left.
- Row #57: knit 2 stitches, 1 left-leaning decrease, continue according to the Zig Zag Eyelet Column Stitch until 4 stitches are left, then 1 right-leaning decrease, knit 2 stitches. 56 stitches are left.
- Row #58 and following even rows: purl row.
Repeat decraesing as on Row #57 a further 7 times (that is up to Row #71). 42 stitches will be left.
Now that the decreases are over, continue working on the remaining stitches for another 15 rows, then cast off the stitches.
The back is finished: we will have to knit the front of the sweater now.

How to knit the front
Follow the same pattern as the back until you shape the neckline for a comfortable and flattering fit.
Repeat the same instructions given for the back up to Row # 69: you will have 44 stitches.
Now, start to decrease to shape the neckline. At the same time, keep the side decreases for the armhole of the sleeve, as for the back.
- Row#71: knit 2 stitches, 1 left-leaning decrease, work the following 11 stitches according to the Zig Zag Eyelet Column Stitch. Move the central 14 stitches on a stitch-holder. With a new ball of yarn, work the following 11 stitches according to the Zig Zag Eyelet Column Stitch, then 1 right-leaning decrease, knit 2 stitches. 14 stitches per side are left.
The decreases for armhole are now complete. We will continue to work the two sides separately, using two different balls and decreasing 1 stitch within 2 stitches on the sides of the neckline, 4 times.
- Row #73: for the first part, knit according to the Zig Zag Eyelet Column Stitch until 4 stitches before the stitch-holder, then 1 right-leaning decrease, knit 2 stitches. For the second part, knit 2 stitches, 1 left-leaning decrease, continue according to the Zig Zag Eyelet Column Stitch until the end of row. 13 stitches per side are left.
Repeat decreases as on Row #73, 3 more times. You are at Row #79 and will have 10 stitches on the needle.
Decreases are over; continue to work on the remaining stitches for another 7 rows before casting off the stitches.
Knitting the sleeves
Add gentle increases to shape the sleeves and give them volume, keeping the stitch pattern consistent.
Only the sleeves and a few finishes are missing and your knitted cotton sweater will be ready to be worn!
Cast on 36 stitches and work 12 rows in 1/1 Rib Stitch.
We will set up the Zig Zag Eyelet Column Stitch pattern, and also for the sleeves we will knit the first and last stitch.
- Row #13: knit 1 selvedge stitch, *knit 4 stitches, yarn over, 1 skpo*. Repeat from * to * 5 times, knit 4 stitches, knit 1 selvedge stitch.
- Row#14 and following even rows: purl rows.
Now, continue working according to the Zig Zag Eyelet Column Stitch pattern for the entire length of the sleeves.
To give volume to the sleeves, increase 1 stitch every 8 rows, inside the selvedge stitch, on both sides, 5 times. You are at Row #47 and you will have 46 stitches.
Work 4 more rows, then start decreasing for the armohole.
- Row #53: cast off the first 4 stitches, then continue according to the Zig Zag Eyelet Column Stitch until the end of row. 42 stitches are left.
- Row #54: cast off the first 4 stitches, then continue purling until the end of row. 38 stitches are left.
The decreases will be made from the right side within 2 stitches, every 2 rows.
- Row #55: knit 2 stitches, 1 left-leaning decrease, continue according to the Zig Zag Eyelet Column Stitch until 4 stitches are left, then 1 right-leaning decrease, knit 2 stitches. 36 stitches are left.
- Row #56 and following even rows: purl row.
Repeat decreasing as on Row #55 a further 13 times (that is up to Row #81). You will have 10 stitches.
The decreases are complete. Work another row according to the set pattern and cast off the remaining stitches.
Finishing your cotton sweater
This step transforms your knitted pieces into a professional-looking garment.
-
Sew the shoulders.
-
Pick up stitches around the neckline and knit 4 rows in 1/1 rib.
-
Close the remaining shoulder seam and attach the sleeves.
-
Sew the sides.
-
Weave in all ends.
Want to make it last longer? Gently block your sweater to enhance its shape and stitch definition.

Loved knitting this project? Explore our full range of knit kits – from beginner-friendly designs to advanced patterns, there’s one for every skill level!